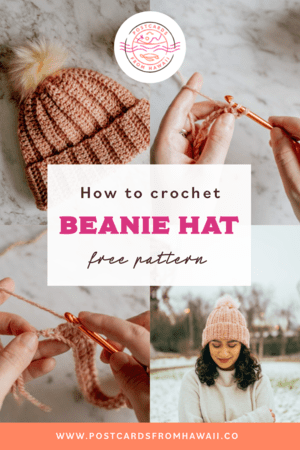
New to crochet? Want to learn how to make something you can take on your travels around the world to keep you warm? Something you made with your very own hands and are very proud of?
GOOD! That’s why I made this beginners step by step crochet tutorial for my chunky beanie hat. Well, that and a lot of you requested it.
I learnt to crochet Summer 2020. With no travel in sight, I needed something to occupy my mind and I always love trying something new. Yes, the summer of 2020 was the summer of crafts, I learnt to crochet, tie-dyed half of my clothes, made my own candles, made a bunch of hair scrunchies from Michael’s old jeans and I taught you how to make the best banana bread ever (so I’ve heard).
Since I started, crochet has taken a special place in my heart. As someone who has dabbled in knitting, personally I think crochet is easier and far more enjoyable. It’s easier to correct mistakes, to transport when you’re travelling and it’s really quick! So let’s get started.
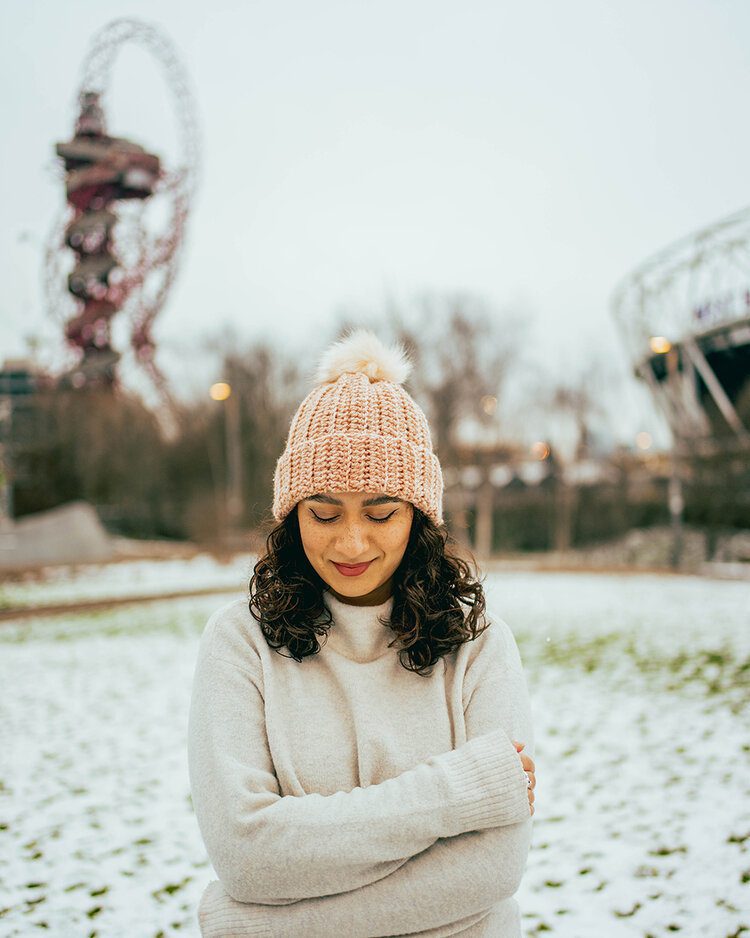
To make this as easy as possible to follow if you’re a beginner, I have added some extra guidance in italics under most steps of the pattern. In these additional steps I go a little slower and give you a step-by-step guide for completing a double crochet (US) stitch which is the main stitch for this chunky beanie crochet hat. If you’re a crochet whizz or simply understand how to follow a shorthand pattern, then go ahead and breeze past those extra words of encouragement.
Sizing for this chunky beanie crochet hat
This free crochet pattern for a chunky beanie hat will fit a small-medium adult head. If you want to make it bigger then simply add a couple of extra rows. For reference, 32 rows fits me and 34 rows fits Michael.
What you need to crochet my chunky beanie hat
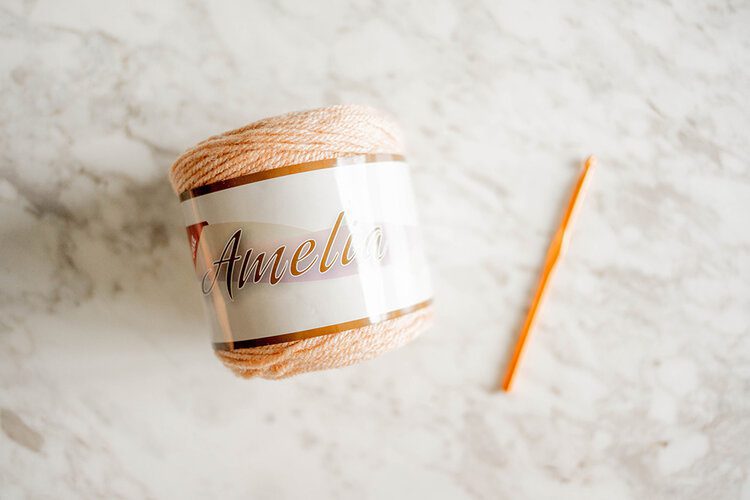
5.5mm hook.
100g Chunky yarn/wool (between double knit and super chunky), minimum 135m/147 yards. I used Amelia Cake by Canan for no other reason than all the yarn/wool shops are closed during lockdown and it’s all I could get my hands on in Wilko. I highly recommend finding a yarn/wool that is made from recycled or natural materials.
Darning needle (if you don’t know what this is, it’s a chunky needle with a large eye for the wool/yarn).
Scissors.
Pom pom (you can either buy or make one).
Chunky beanie hat crochet pattern
This pattern uses US terms (because that’s what I learnt to crochet in) but here’s a quick translation to UK crochet stitches:
Double Crochet (US) is a Treble Crochet (UK)
Abbreviations
ch = chain
dc blo = double crochet in the back loop only
st – stitch
sl st = slip stitch
yo = yarn over
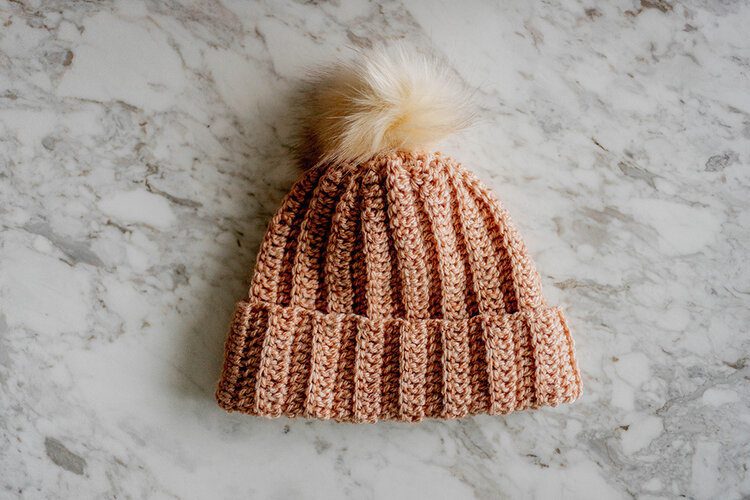
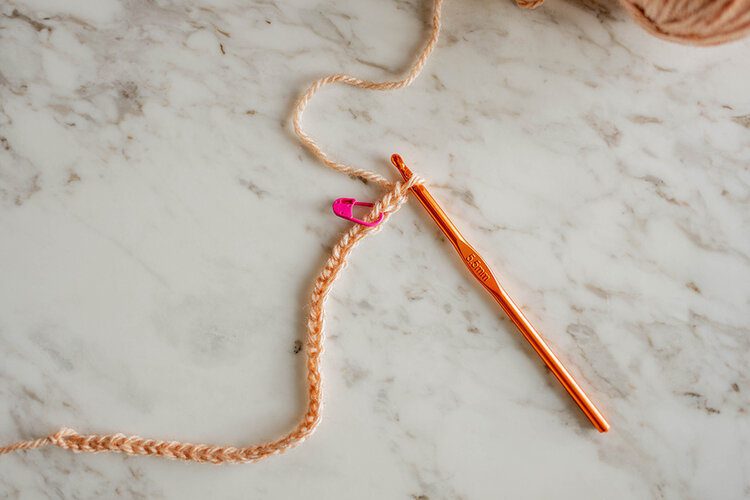
Make a slip knot and ch 39.
1st row: 1 dc in 3rd ch from the hook (the first 2 ch on the hook acts as your turning ch which lifts you up to work on the next row). When you reach the end you should have 37 stitches.
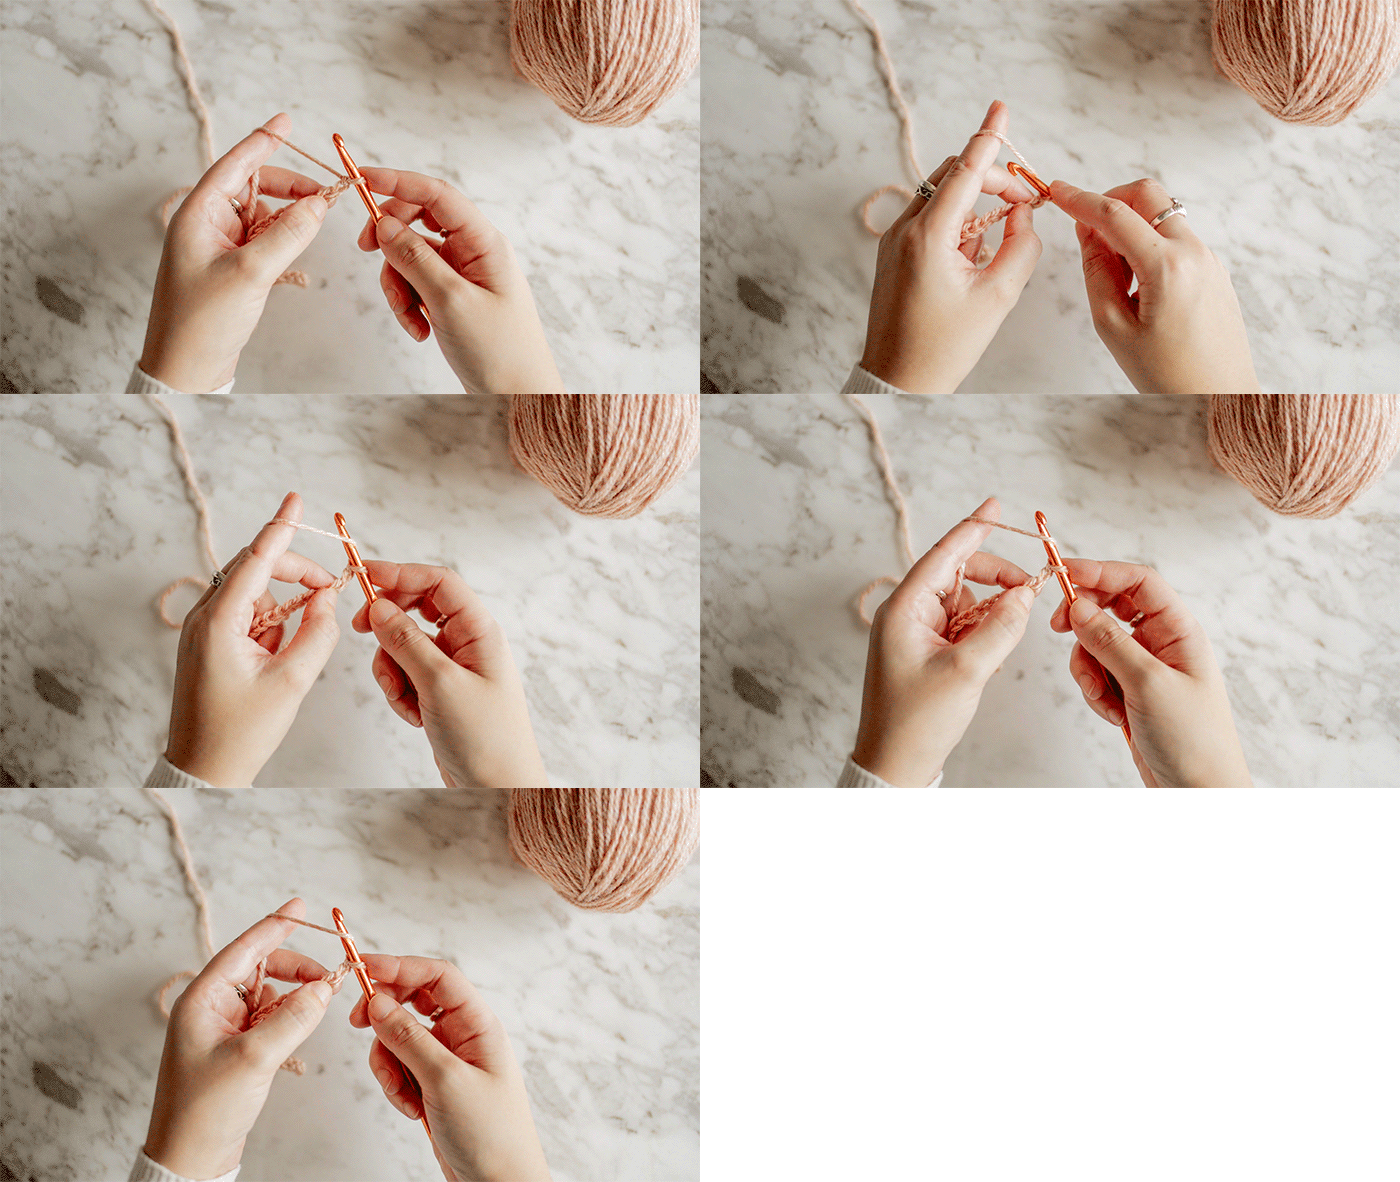
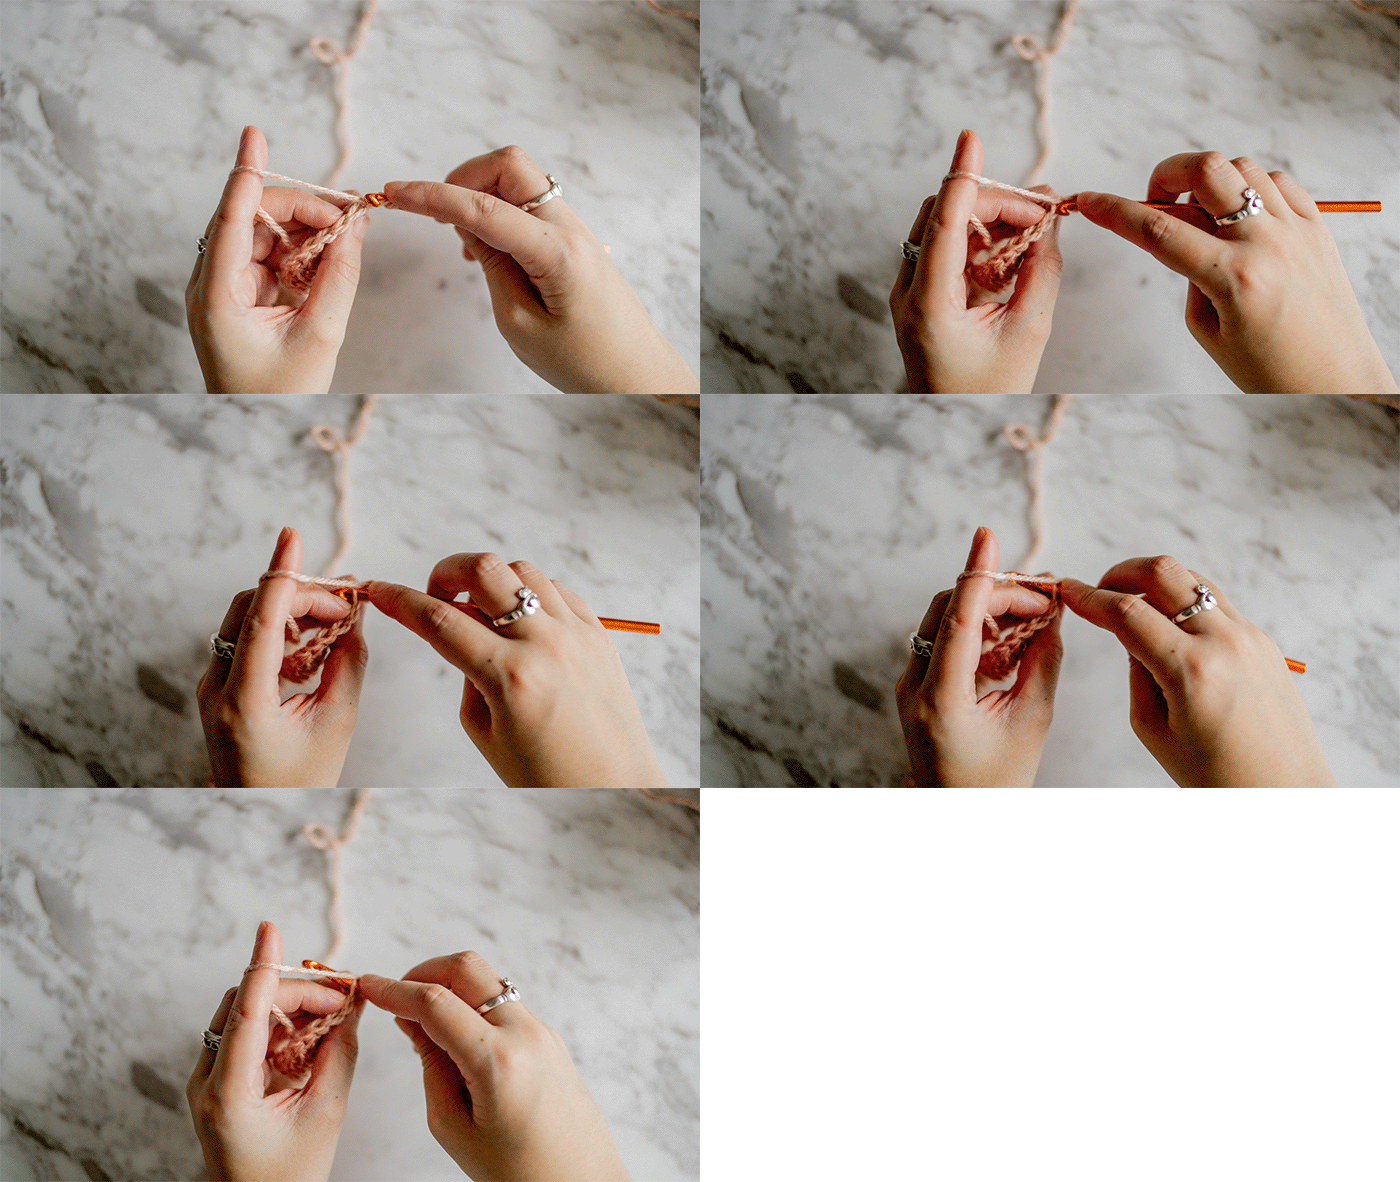
How to do a Double Crochet (US) or Treble Crochet (UK) crochet stitch in the back loop only:
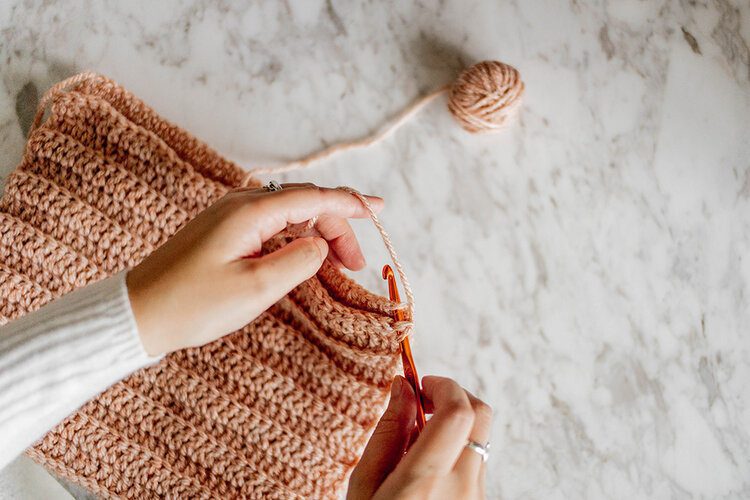
With one loop already on the hook, bring the yarn over the hook so it looks like you have two loops on the hook.
Insert your hook vertically down through the stitch (through the little “V”) and push it out the back, so your needle goes under the back loop of the little “V”.
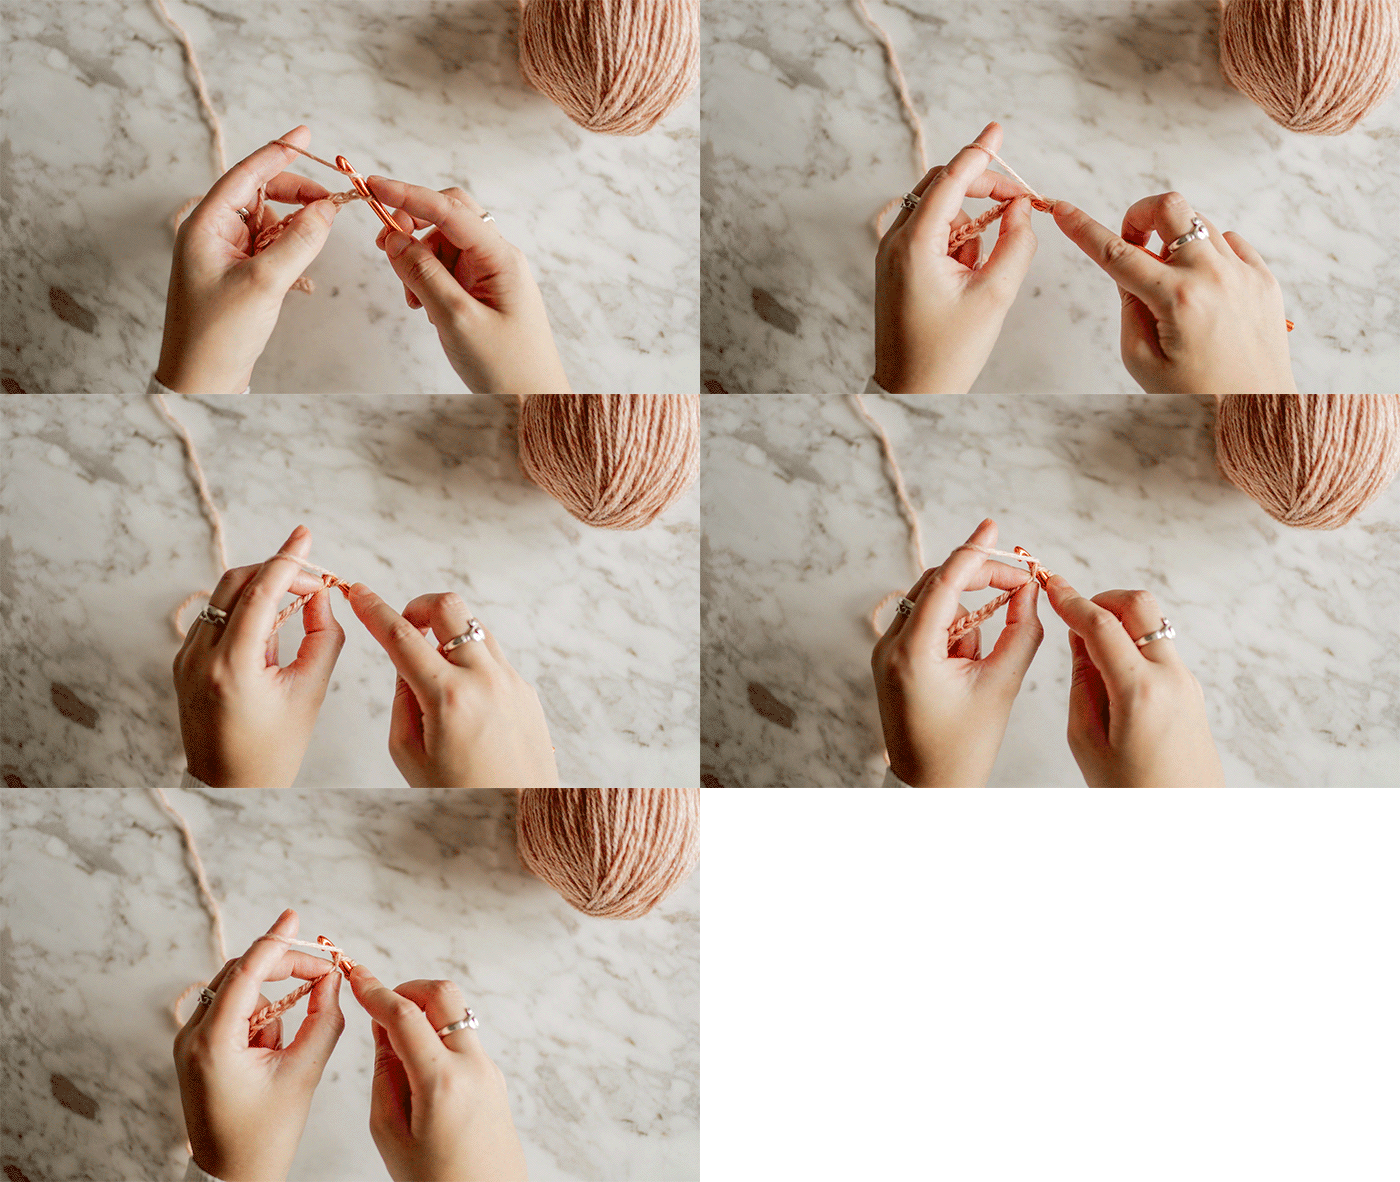
Yarn over and bring it it back up through the stitch (“V”). Now you will have 3 loops on your hook.
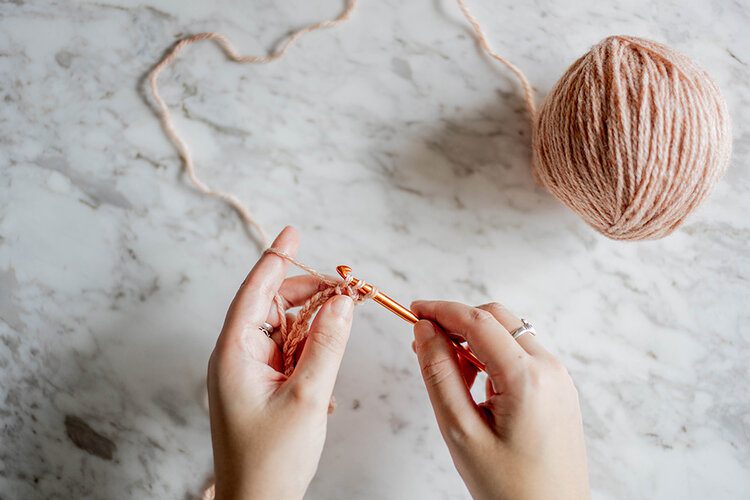
Yarn over and bring the hook through the first two loops on your hook. You should now have two loops on your hook.
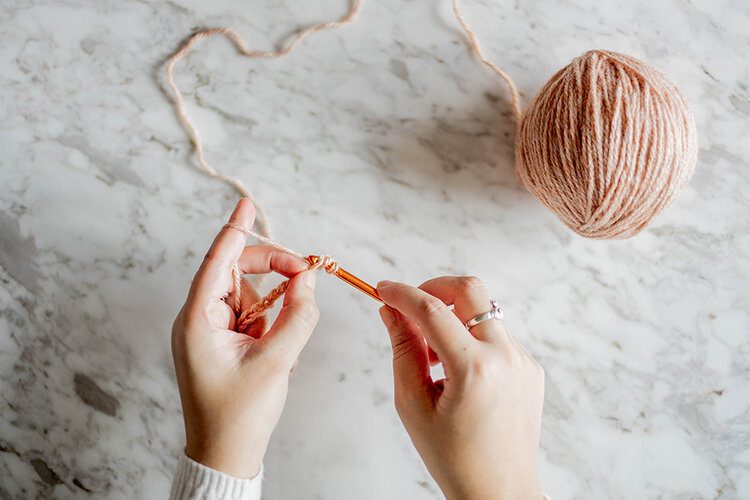
Yarn over again and bring the hook through the final two loops on your hook. You should now have one loop on your hook.
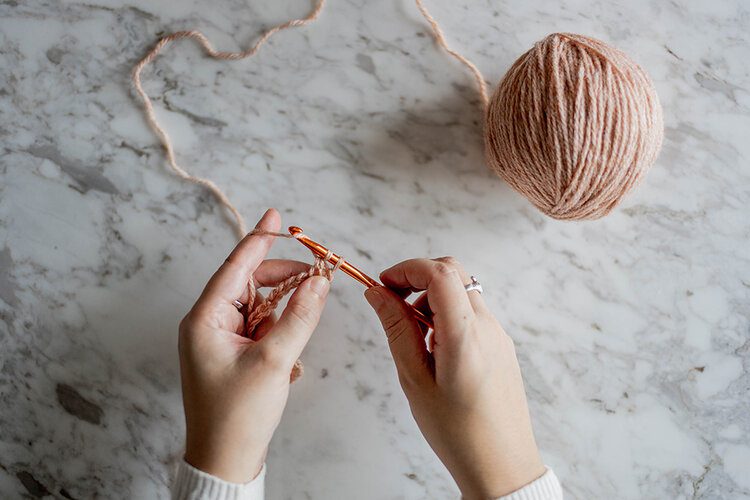
Congratulations you have completed your first double crochet in the back loop only (dc blo) stitch!
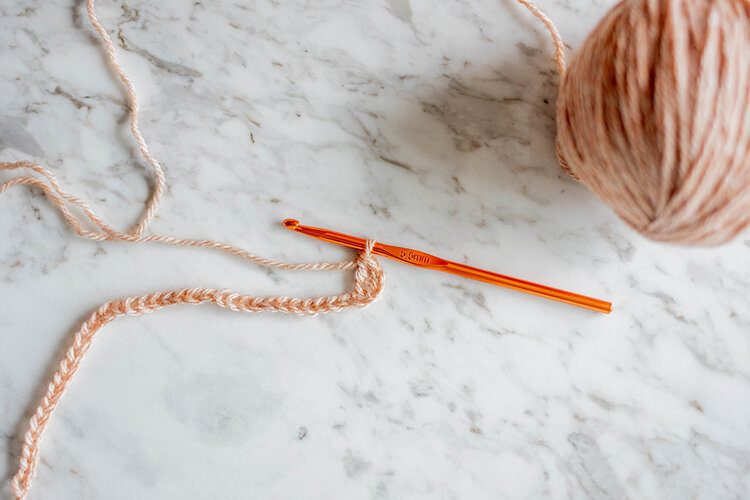
2nd row: ch 2, turn your work, work 1 dc blo in each of the 37 stitches.
Remember how you skipped the first two stitches on your first row and I said it’s your turning chain to raise you up to the next row, that’s what this “ch 2” is every time you reach the end of a row to begin a new one. When you have chained two, you work into the first stitch in the row you previously worked. You should have 37 stitches when you finish your 2nd row.
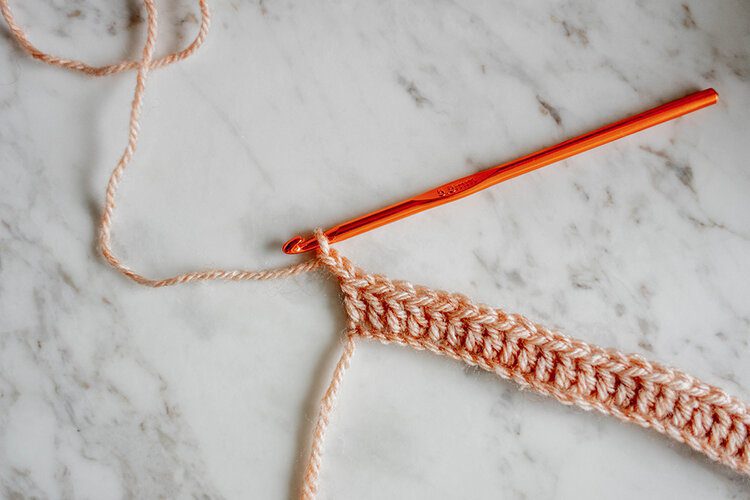
To turn your work is to flip it around so you can begin working back across the row you just made.
Continue to do a double crochet stitch in the back loop only that I explained above across all 37 stitches before moving on to the next row.
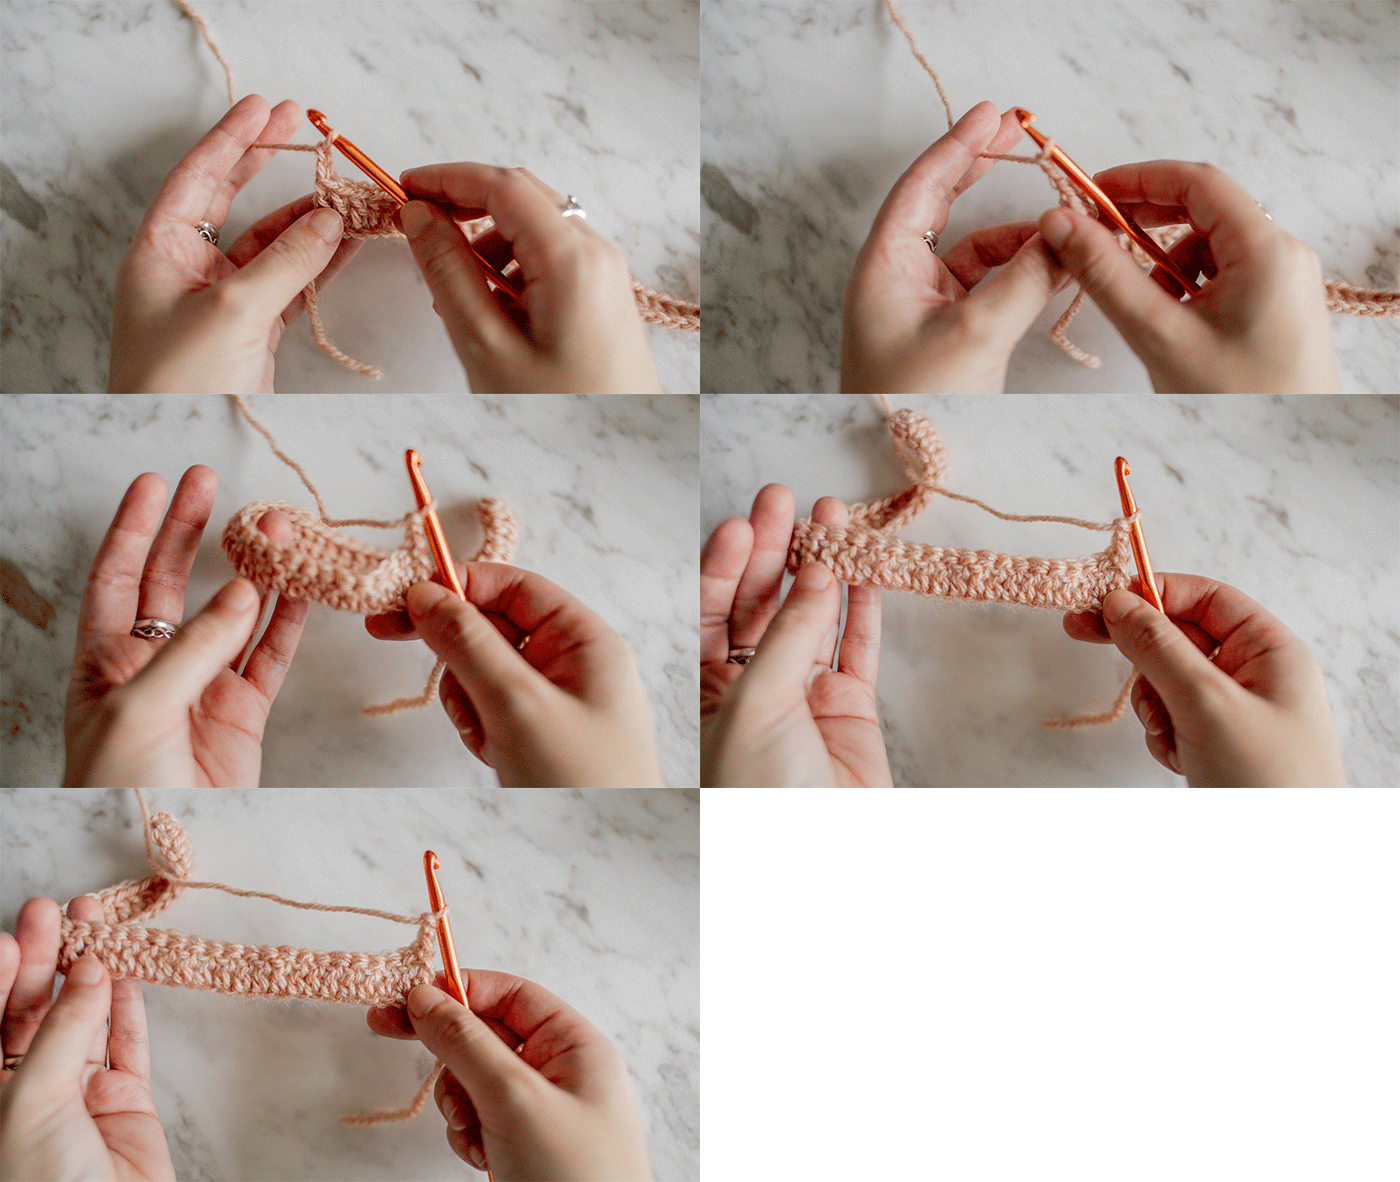
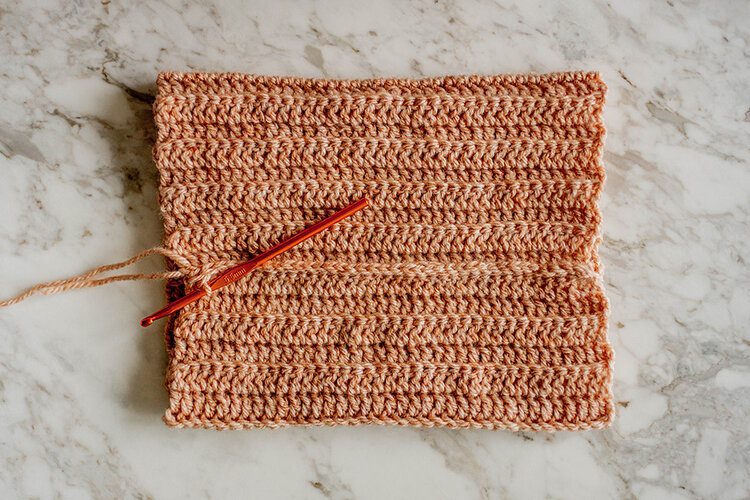
3rd row: repeat instructions for 2nd row. Now continue to repeat this row until you have 29 more rows (32 row altogether).
You’ve got this!
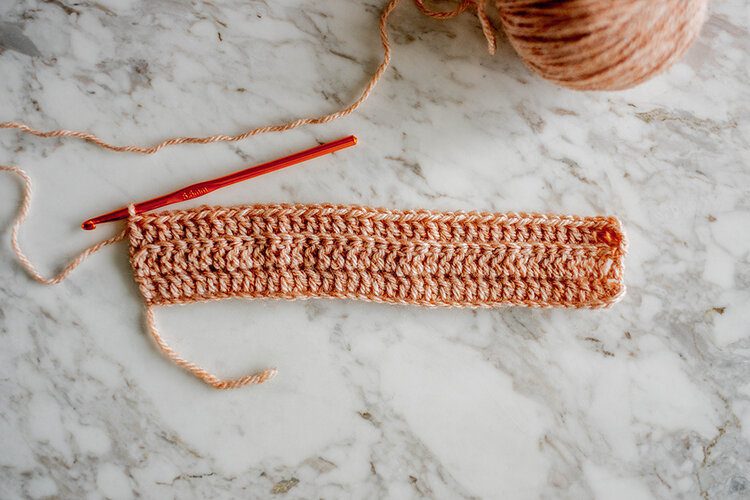
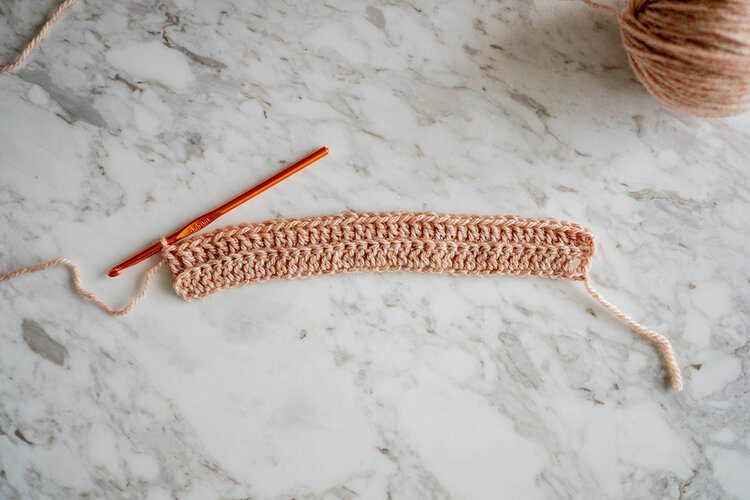
You will now have a rectangular piece that looks like a luxury bedspread for a Barbie doll, right? Great!
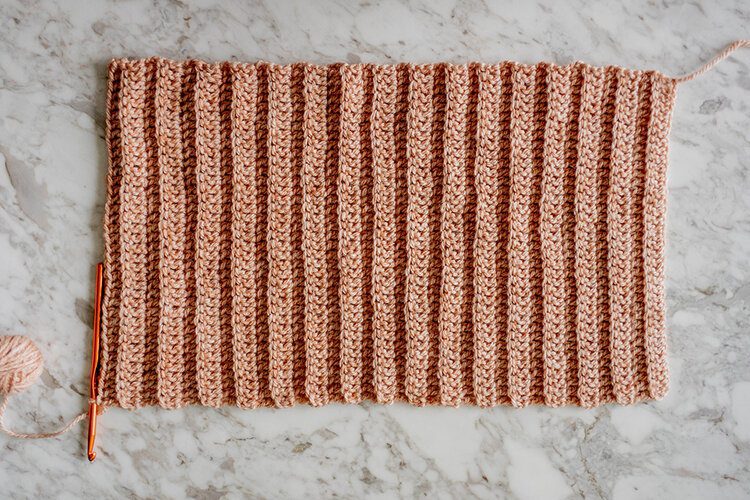
Fold the rectangle in half taking the two short edges together. Now you’re going to stitch them together using your crochet hook.
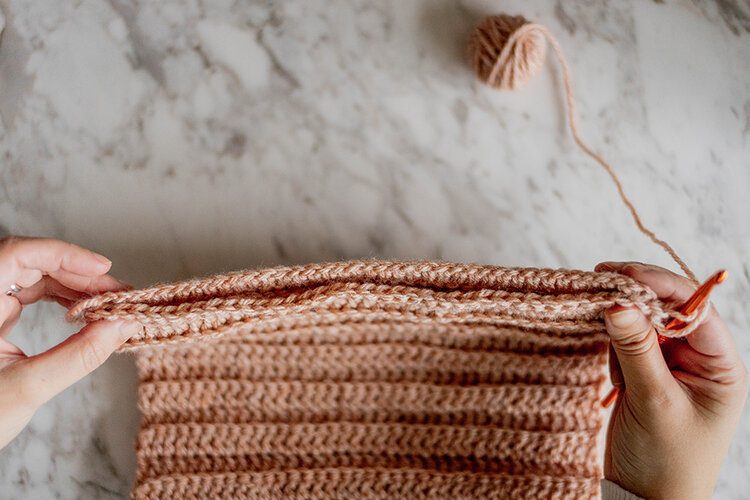
Join the two edges by working 1 sl st in each st.
Insert your hook through each stitch you made on your last row and through to the other side of the other edge, yo and pull it through both edges and continue to pull it through the loop already on your hook. Continue to do this across all 37 stitches.
Fasten off leaving a tail of 15”/40cm
To fasten off, ch 1 and cut your yarn leaving 15”/40cm (for this pattern) then use the hook to pull the loop on the hook up until the end of the yarn/wool comes out. Pull on the tail of yarn/wool gently to form a knot that will prevent your crochet piece from unravelling.

You should now have a crochet tube, got that? Perfect!
You’re nearly there!
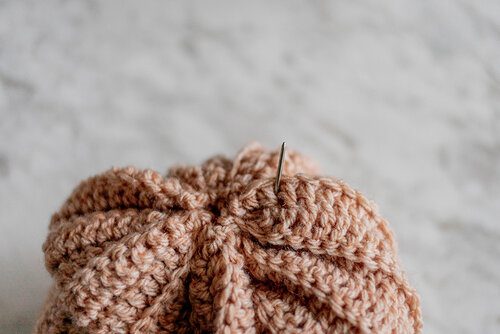
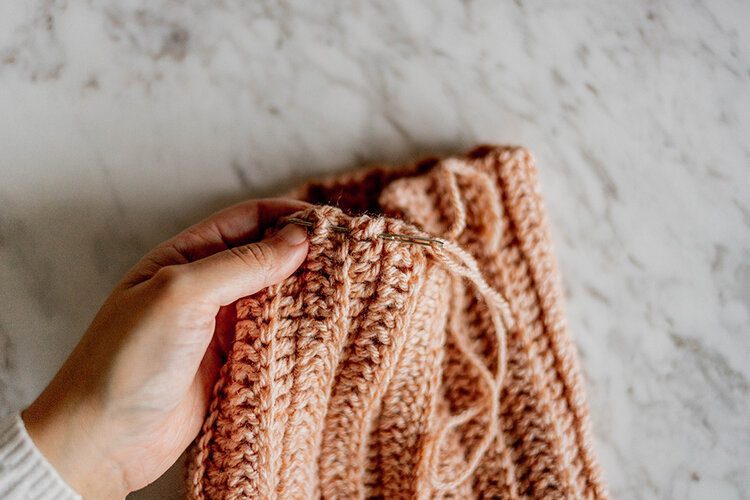
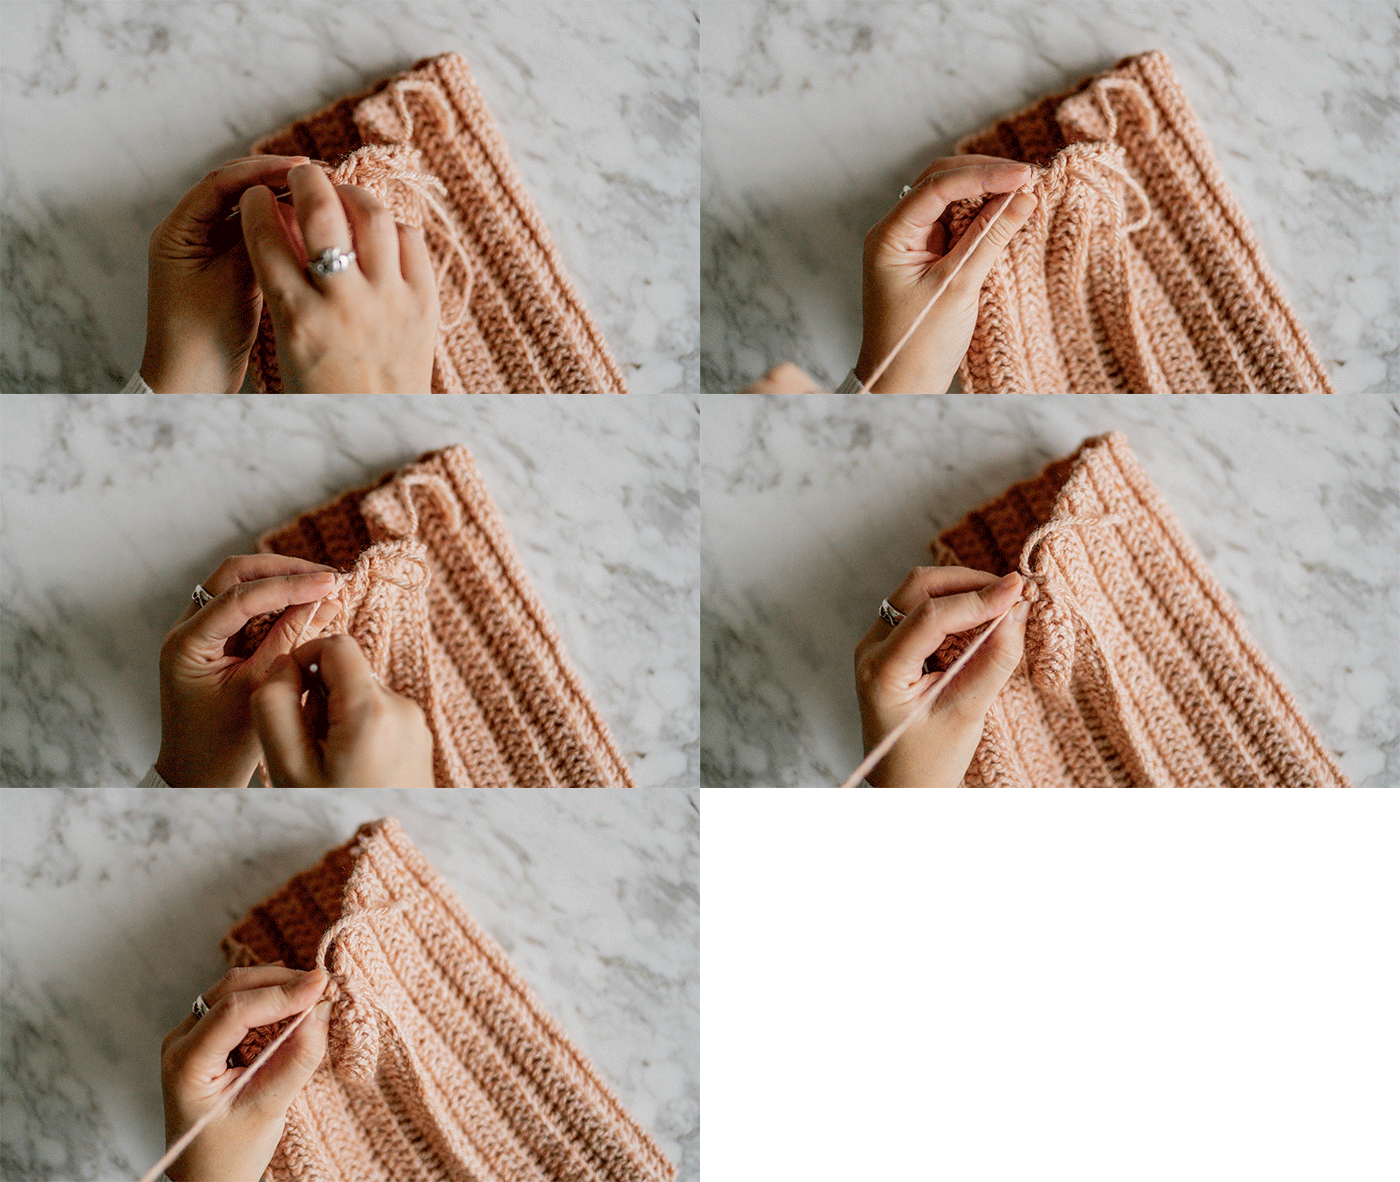
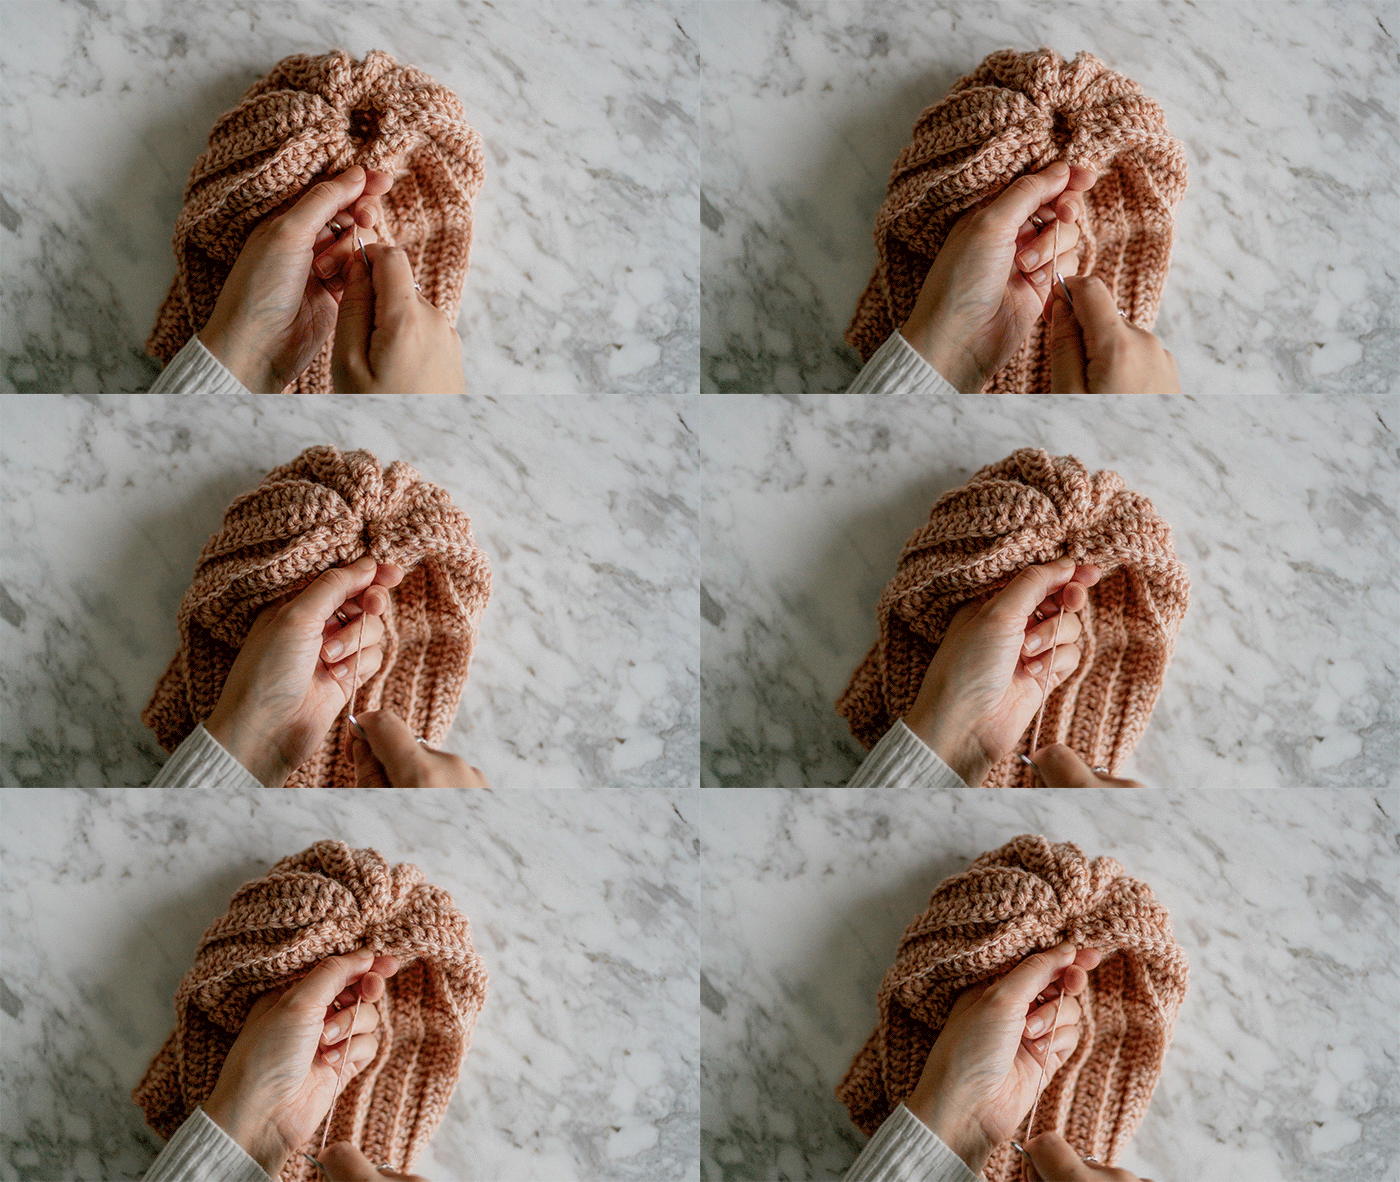
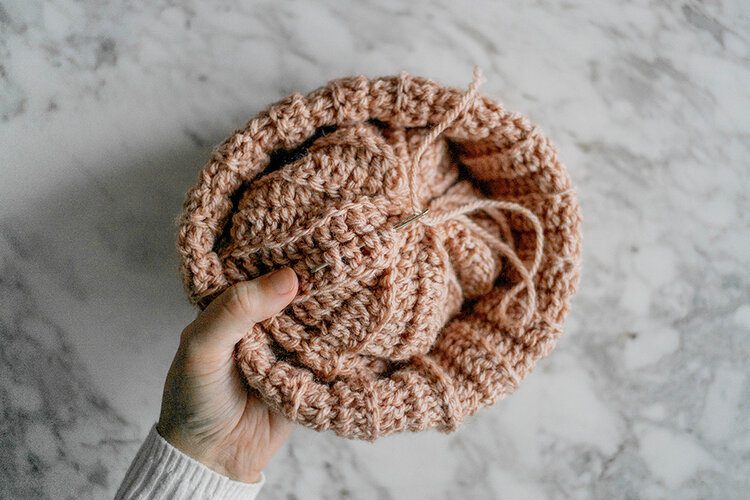
Thread the end of the tail of yarn/wool through the darning needle and from the joining seam you just made, begin to weave it in and out of the open edge of the hat, you want to keep the thread close to the top edge.
As you weave in and out, gently pull on the thread so you draw the top of the hat closed as you go along.
You may also be interested in my how to make a drawstring laundry bag DIY tutorial.
Once you reach where you started, pull the yarn/wool gently so that the top of the hat closes and leaves no hole. Remove the needle and tie the yarn/wool to the tail of yarn/wool from your original chain.
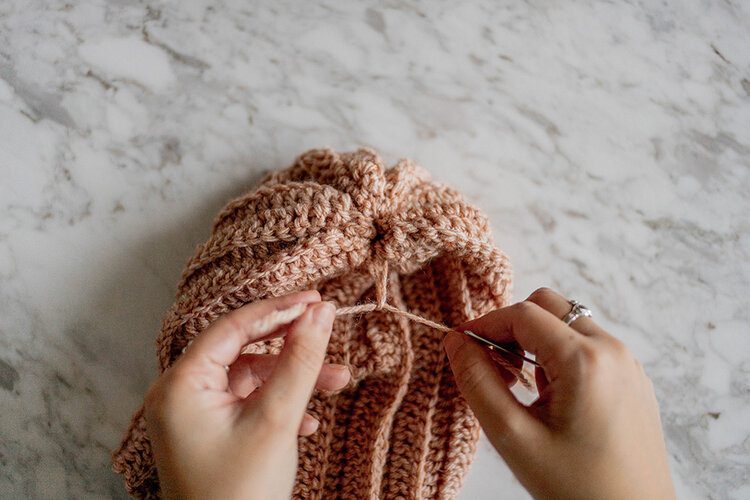
Turn the hat inside out so that the seam you created is on the inside.
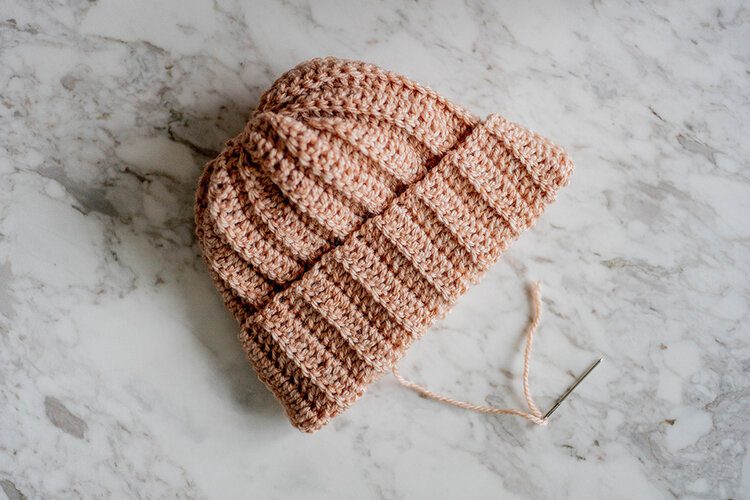
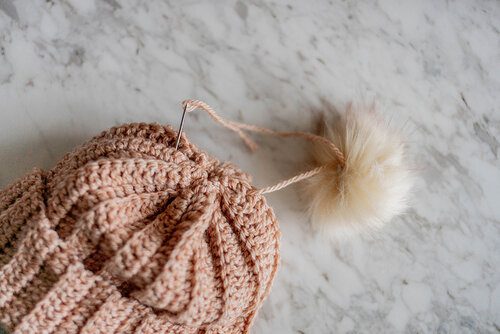
If you want to add a pom pom then thread the longest end of your yarn/wool onto the darning needle, thread the yarn/wool up through the top of the hat, just off to the side of the centre. Take your pom pom and thread the yarn/wool through it, then thread the needle back into the inside of the hat, this time insert the needle just off to the other side of the centre.
Putting space on either side of the top of the hat when you attach the pom pom makes it more secure and less wobbly on the top.
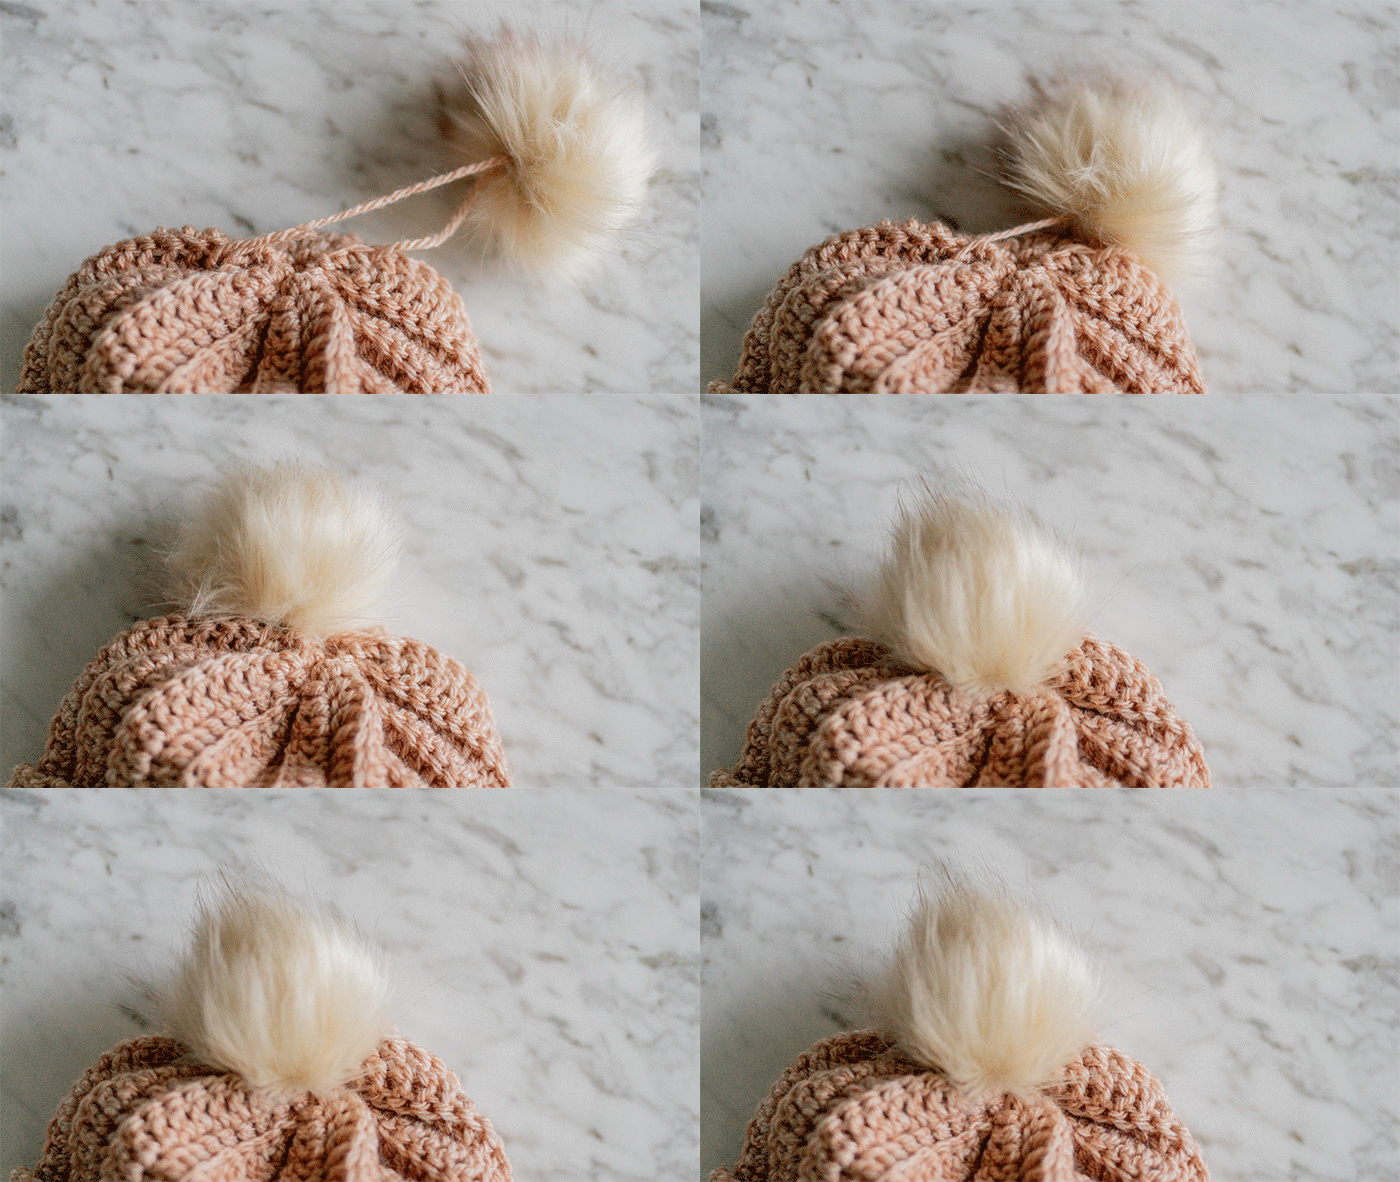
Pull the yarn/wool tight and secure the pom pom by lopping the yarn/wool tail to a stitch on the inside of the hat then weave in the two ends.
If you don’t want to add a pom pom then weave in your ends.
How to weave in your crochet ends
Thread the end of the yarn/wool onto the darning needle and simply weave the needle under stitches within your work piece. You preferably want to do this on the inside of anything you make so that it’s not visible on the other side. In this case, you will do it on the inside of the hat.
You can go down one row and come back on yourself in the next, or you can simply go straight down one row. You don’t need to do anything fancy but the more you weave, the more secure the end will be.
Once you’re happy with how much you’ve weaved in, simply cut the yarn/wool close to piece.
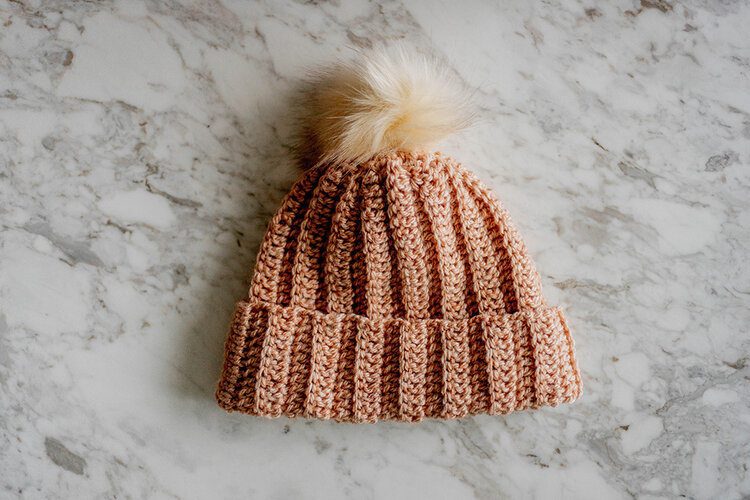
Fold up the bottom edge of the beanie hat and now it’s ready to wear!
Congratulations on successfully crocheting my chunky beanie crochet hat! I’m proud of you!
If you have any questions or need help then please feel free to email me here or send me a DM on Instagram.
Do more on & for the planet, Gabriella


